
| If you're anything like me, you're always looking for more storage. I came across this old chest of drawers at a yard sale and decided to buy it because the price was right and it would hold a lot of "stuff". It had decent enough lines, | 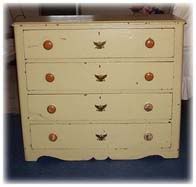 |
| Before |
| but a garish 1970's Bicentenial style paint job, complete with eagles. I knew that I wanted something light, and something that would play up the vintage vibe, so this is what I did. |
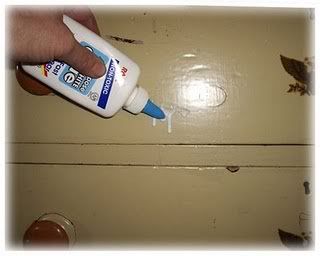
Step 1:
I wanted a partial crackle effect, so I squeezed all purpose glue to the areas where I wanted crackle. In this case, I wanted to keep the original color of the chest for my crackle color, so I did not paint the chest another color before starting. If you want the crackle to be a different color than the one you're starting out with, you'll need to basecoat the chest, or at least the areas to be crackled with that color first.
 |
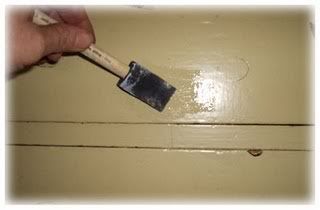
Step 2:
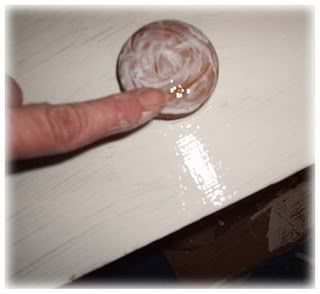
I used a foam brush to spread the glue evenly over the section to be crackled. You have a couple of choices when spreading the glue....you can use a foam brush as I did, or you can use your finger. If you want fine crackling, the foam brush is best. If you desire large, coarse crackling, the finger may be a better choice. A general rule of thumb is, the finer you want the crackle, the lighter and thinner the glue coat; the coarser you want the crackle, the heavier or thicker you should leave the glue.
 |
Step 3
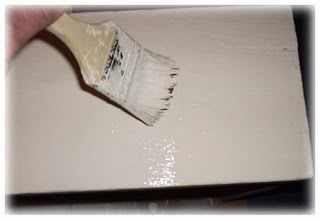
After my spot glue applications had dried, I removed the drawers and painted the frame of the chest with white latex paint.
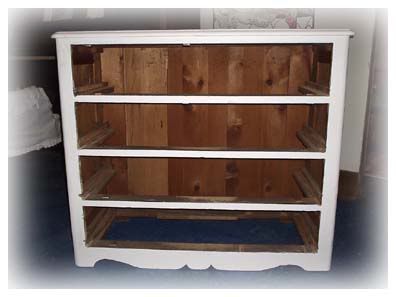 |
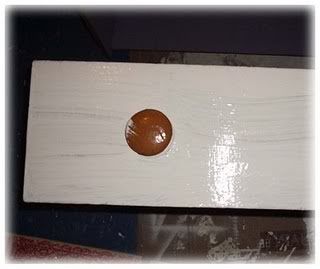
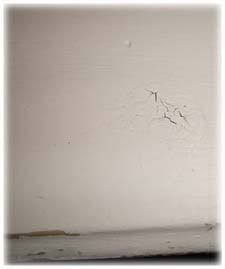 | Note: in the spots where you want crackling, you must only brush in one direction and only use one coat of paint, or the crackling won't work. This is the chest after two coats of paint except for the crackle spots, and a close up of the crackling effect. |
| Close-up of Crackle Effect |
Step 4:
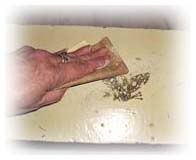
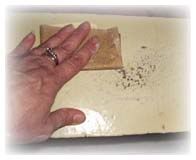
The photos below show me sanding the eagle decal off. (While prep work is minimal for a shabby distressed finish, it is not completely eliminated. You don't want the remnants of the last finisher's work to show through yours!)
Once the eagles were gone, it was time to paint the drawers with their first coat of paint.
 |  |
Step 5:
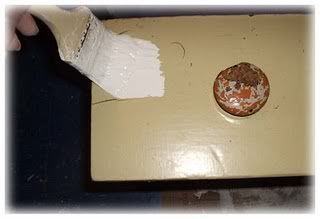
After using the glue as above in the places where I wanted crackle, I applied the first coat of paint, taking care to only go one direction in the areas which I wanted crackled. Since I wanted to crackle the finish of the knobs, I ignored them while painting the rest of the drawer with the first coat of paint.
 |
 |
Step 6:
Because I wanted heavier crackling on the knobs, I applied the glue with my finger.
 |
Step 7:
After the first coat of paint and the glue dried, I applied the second coat of white paint. (And the single coat to the knobs, working in one direction as before.)
 |
| All of the painted drawers waiting to dry. |
 |
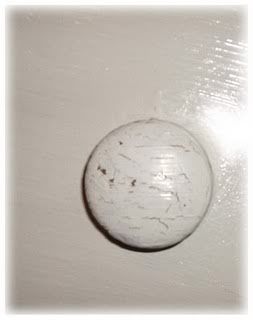 | This is a close-up of a crackled knob. Now all that's left is the distressing. |
| Close-up of crackled knob |
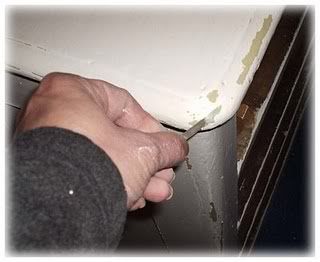
Step 8:
I used sandpaper to remove some of the white paint I'd just applied in areas where I wanted the appearance of wear. | 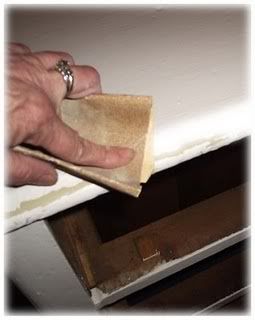 |
| Initial sanding |
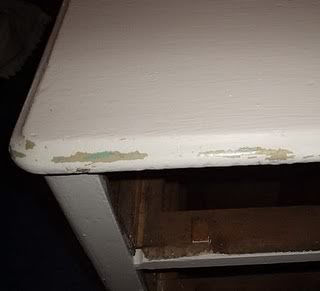
Step 9:
Because the chest had been painted a few times, and I'd noticed a nice green in places where the beige had worn away, I further distressed some of the beige with a small metal file to give the paint job a chippy finish.
 |
 |
Finished!
One great thing about this type of finish is that the more beat up it gets, the better it looks! These photos show the chest about a year after it was "refinished", and the more worn it gets, the better I like it.
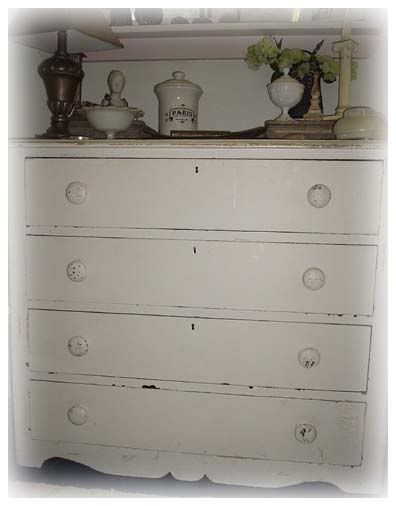 |
| Chest one year later |
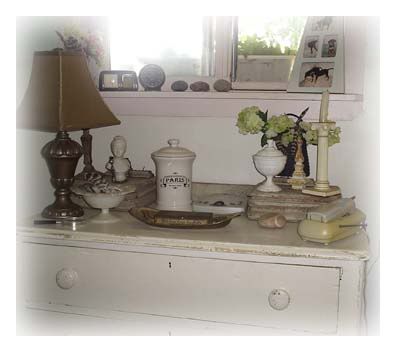 |
| Close-up of the chest of drawers |
| I was badly in need of a telephone table by the entry, and this serves the purpose quite nicely. It also gives me a convienient place to stash my latest flea market finds until I've had a chance to figure out how I'm going to use them. |
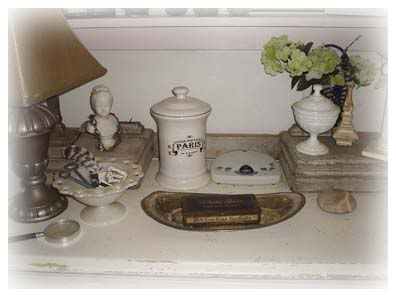 |
| Another view |

If you desire to improve your familiarity only keep visiting this web site and be updated with the newest information
ReplyDeleteposted here.
Also visit my page; metabolic rate calculator